Last updated November 21, 2026
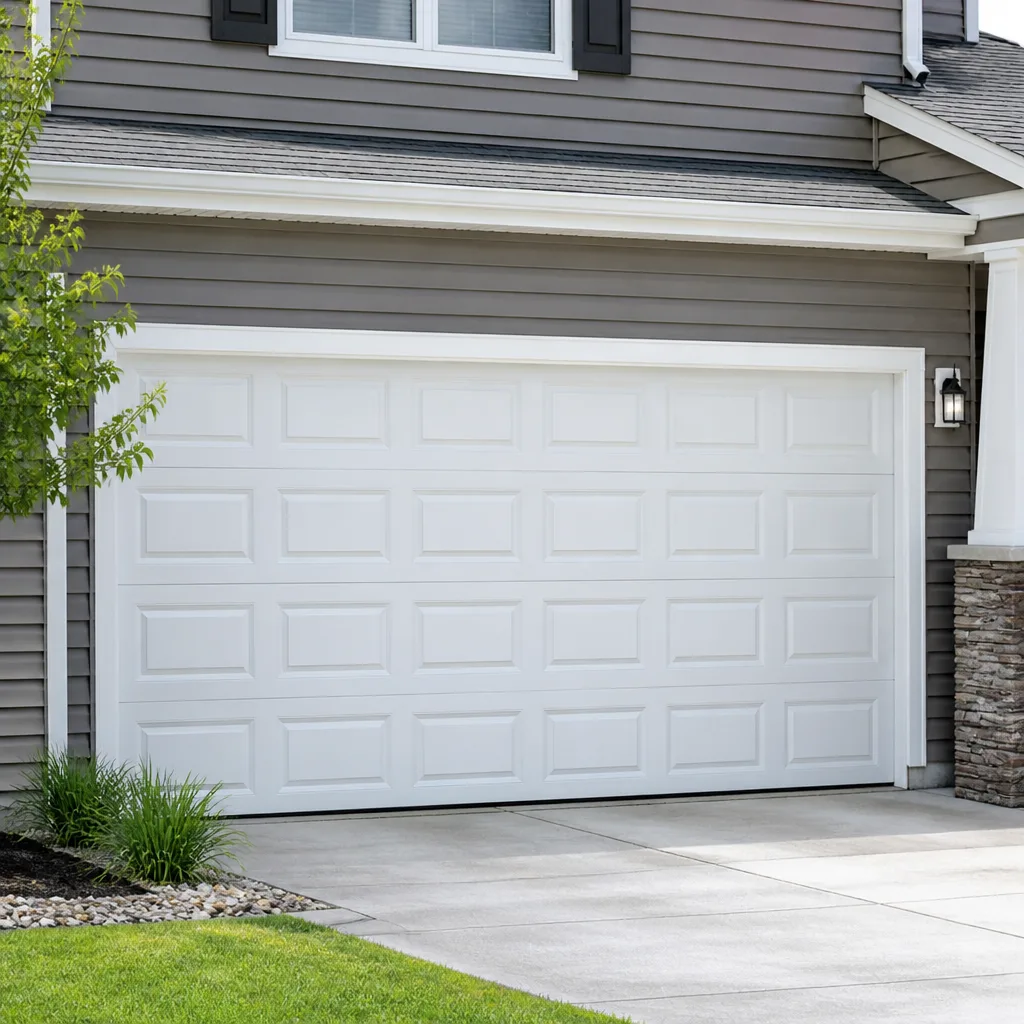 Raised-panel steel
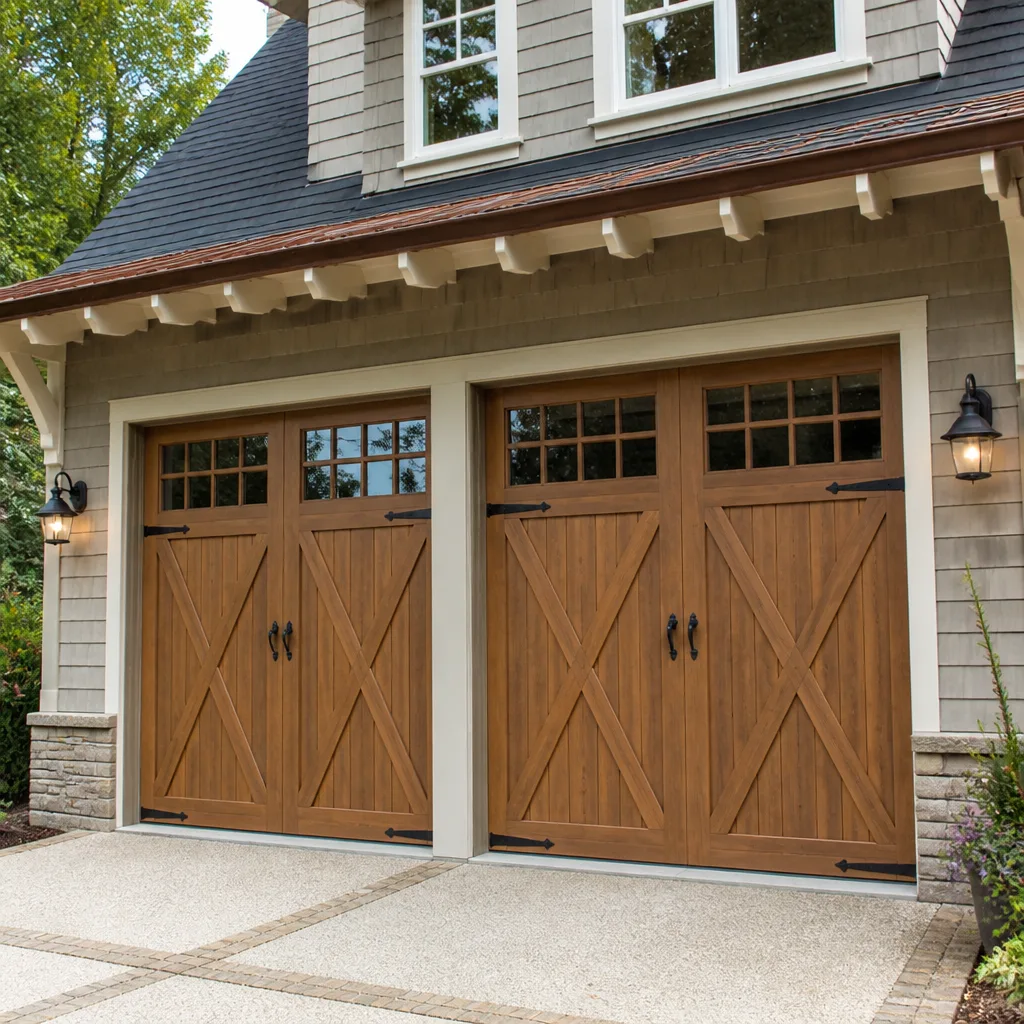 Carriage house
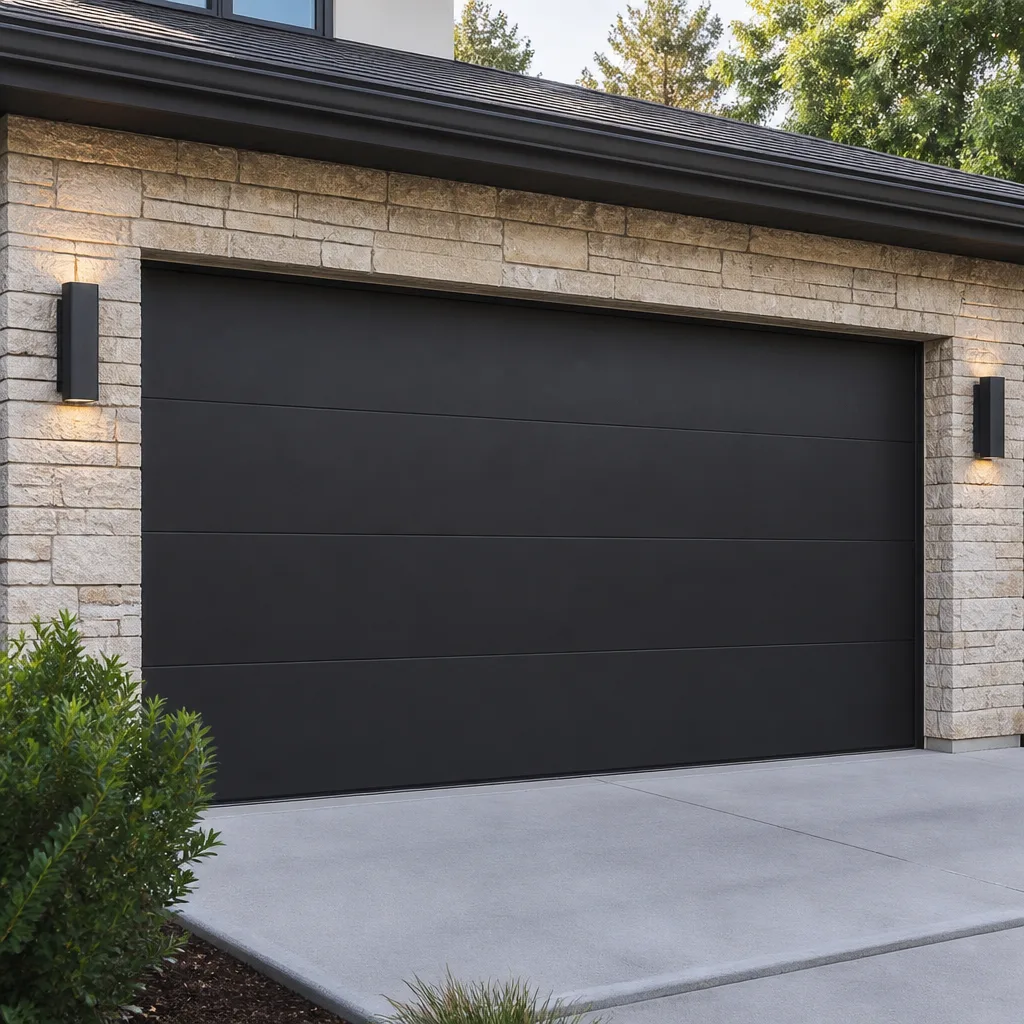 Modern flush
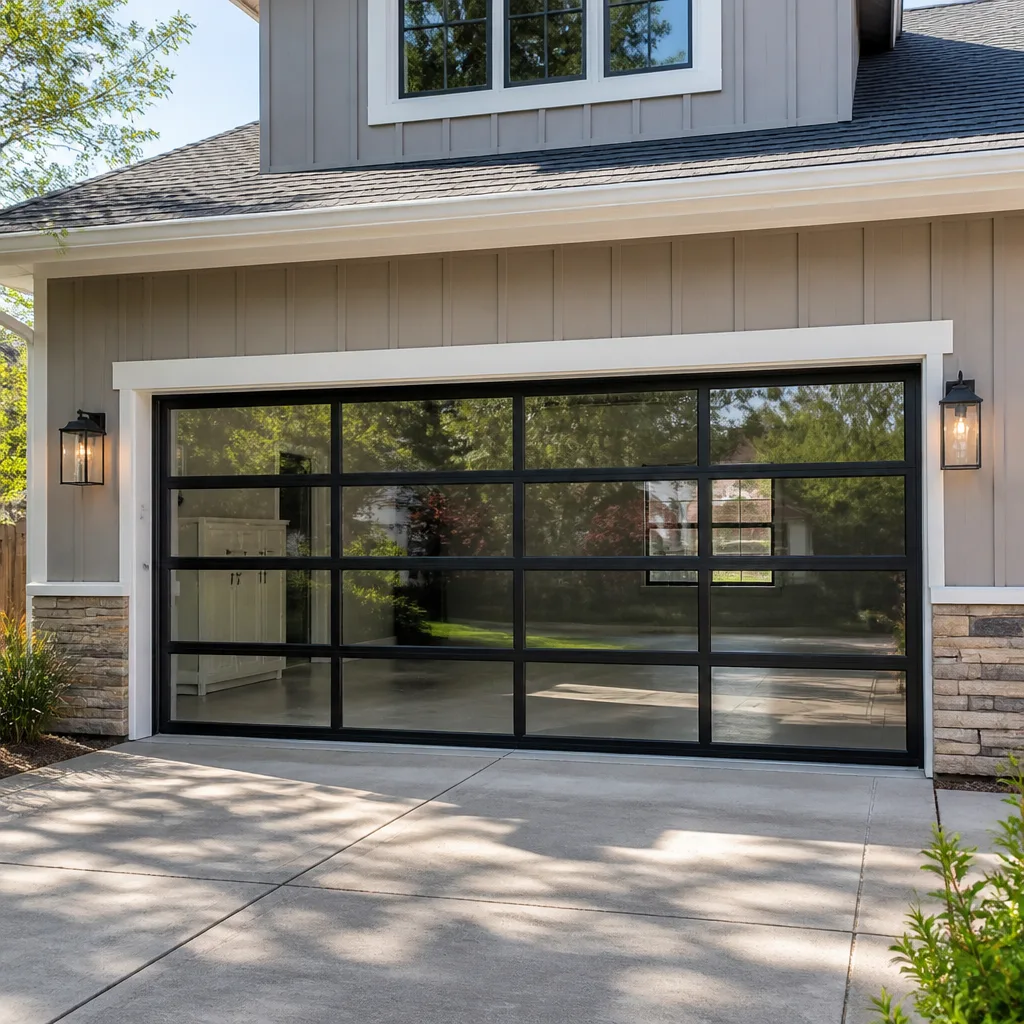 Full-view glass
 LiftMaster openers
 Chamberlain openers
Full 25-point door and opener safety check with every visit - springs, cables, rollers, tracks, and your LiftMaster or Chamberlain opener included
You get a price before we start. It does not change when the pro arrives.
Get your free estimateGarage Door Repair Troubleshooting in Chesapeake: Common Problems and How to Fix Them
A door that reverses before it touches the floor and a door that won’t open at all can look like two completely different problems. Often they trace back to the same failing component: the safety sensors or the logic board reading them. That’s the trap most Chesapeake homeowners fall into. You see the symptom in your driveway and assume the part nearest the symptom is the cause. A garage door is a connected mechanical system, and the part making noise is rarely the part that broke. This guide teaches you to read the door as a whole system, map symptoms to the subsystem actually responsible, and know exactly where to stop and hand it off before the door fights back.
Quick Answer
Garage door troubleshooting in Chesapeake starts with three things: disengage the opener, lift the door by hand to test the balance and hardware, then run the opener alone to test its logic. Most problems fall into five subsystems: springs, cables, tracks, opener, or safety sensors. Spring and cable work always belongs to a trained technician because of stored tension energy. Everything else you can safely diagnose, and often fix, yourself.
Styles & brands we work with
- Raised-panel steel
- Carriage house
- Modern flush
- Full-view glass
- LiftMaster openers
- Chamberlain openers
Table of Contents
- Why You Should Diagnose the System, Not the Symptom
- The Five Checks You Do Before Touching Anything
- The Manual Lift Test That Separates Hardware From Opener
- Symptom-to-Cause Map: Which Subsystem Is Actually Broken
- How Chesapeake Humidity and Seasonal Swings Break Down Doors
- Safety Sensors: The Two-Faced Failure
- Noise, Slowness, and Gaps: The Quiet Warning Signs
- Where to Stop and Call a Pro
Why You Should Diagnose the System, Not the Symptom
A garage door is a balance of forces. The torsion spring or extension springs carry most of the door’s weight. The cables transfer that spring tension to the bottom corners of the door. The tracks keep the panels traveling in a straight line. The opener only supplies the push and pull to move a door that’s already mostly weightless because the springs are doing the lifting. When any one of those elements drifts, the others start compensating and the symptoms show up somewhere far from the cause.
Here’s what that looks like in practice. A door that slams shut too fast usually means a spring lost tension. A door that opens six inches and stops often means the opener’s force limit tripped because the hardware got heavy, not because the opener is bad. A door that shudders coming down may have a bent track or a worn roller, and the opener is fine. If you replace the opener in that last scenario, you’ll spend real money and the shutter will stay put.
In Chesapeake, we see this constantly in neighborhoods with long driveways and older homes where the door hardware and the opener have aged at different rates. The original door may still be solid while the opener is on its last legs, or the reverse. We work on whatever system is on your home, whether it’s a Craftsman opener over a Clopay door or a LiftMaster running a Raynor door. Diagnosing the system means asking what changed, when it changed, and whether the door got heavier, slower, or less level over weeks or all at once. That single question sorts most garage door repair calls into the right bucket before anyone touches a tool.
Our technicians have up to 8 years of experience reading exactly this kind of failure, and the pattern is remarkably consistent once you know where to look.
The Five Checks You Do Before Touching Anything
Before you climb a ladder or start turning bolts, run this five-step sequence. It protects you and it narrows the diagnosis fast. Do these in order.
- Disengage the opener first. Pull the red emergency release handle hanging from the trolley. This connects the door to the manual track instead of the opener arm. From here on, the door moves by hand and nothing the opener does can surprise you. Skipping this step is the number one reason people get hurt during a diagnosis.
- Look, don’t touch, up top. Stand back and examine the torsion bar, the springs, and the cables at each bottom corner. You’re checking for gaps in the spring coils, frayed cable strands, springs that look stretched out, or a cable that’s gone slack and hanging. If any of that’s there, stop the diagnosis and read the spring-and-cable section below.
- Check that the door is level. With the door down, measure the gap under each bottom corner. A door that sits higher on one side has either a track out of plumb or a cable that’s slipped. That’s a hardware problem, not an opener problem.
- Inspect the tracks by hand. Run your hand along the inside of each vertical and horizontal track. You’re feeling for dents, bends, or a section that’s pulled out of alignment. Also check that the track brackets are tight against the wall. In Chesapeake, summer humidity and the seasonal expansion it causes can work wall anchors loose over time, which lets the track drift.
- Confirm power and sensors. Is the opener plugged in and the wall control lit? Are both safety sensors aimed at each other with a steady light on each one? A blinking sensor light alone tells you the system sees an obstruction, and that shuts the door down before it ever closes.
Every one of these checks is safe. None require you to loosen anything, and none put you near stored spring tension. If you get through all five cleanly and the door still misbehaves, the problem is in the door hardware or the opener logic, and the manual lift test isolates which.
The Manual Lift Test That Separates Hardware From Opener
This is the test most troubleshooting guides skip, and it’s the single most useful thing you can do. With the opener disengaged, lift the door halfway by hand and let go. A healthy door stays right where you put it. That’s what “balanced” means: the springs carry the weight so the door feels nearly weightless. Now note what yours does.
- Stays put halfway up: the door is balanced, and your problem is in the opener or the sensors. Move to the opener logic checks.
- Drops or slams down: the springs have lost tension or failed. Do not run the opener. This is a spring problem, and it’s a call-a-pro situation.
- Takes real muscle to lift: the springs are weak, a cable is binding, or a roller is seized. Could be either end of the system.
- Lifts fine but binds in one spot: you’ve got a track or roller problem at that height. Feel the track there.
- Won’t budge at all: a cable is wrapped, jammed, or over-tensioned. Stop.
Now test the opener logic separately. With the door still disconnected, run the opener from the wall control. Watch the trolley travel the full rail without the door attached. If the trolley moves cleanly, the opener is fine and the trouble is all in the door hardware or the sensor alignment. If the trolley stalls, reverses, or won’t move, you’ve found your opener problem and the door is innocent.
This is the test that saves people from replacing an opener that was working perfectly. In our experience, a good third of the opener replacement calls we take in Chesapeake turn out to be a binding door the opener was fighting all along. A quick manual lift test before you call tells you which repair you actually need, and if you’re not sure, we can walk you through the same checks when you call.
Symptom-to-Cause Map: Which Subsystem Is Actually Broken
This is the reference table to keep on your phone. Match your symptom, then note which subsystem is responsible. The subsystem tells you whether it’s a safe DIY check or a technician call.
| Symptom | Likely subsystem | DIY or pro |
|---|---|---|
| Door reverses before touching the floor | Safety sensors or force limit | DIY check |
| Door won’t open at all, opener hums | Springs, cables, or opener gear | Pro if mechanical |
| Door slams closed fast | Spring tension | Pro |
| Door opens a little then stops | Force limit tripped by binding door | DIY then pro if binding |
| Door shudders or jerks in motion | Tracks, rollers, or level balance | Pro |
| Door sags at one corner | Cables or track plumb | Pro |
| Opener runs but door doesn’t move | Release trolley or stripped gear | DIY check, pro fix |
| Loud banging from above | Failed spring or loose hardware | Pro |
| Door stops halfway down and goes back up | Sensors or a bent track | DIY check, pro fix |
The pattern is that only two subsystems cause the vast majority of “the door won’t close” calls: the safety sensors and a tripped force limit caused by a door that got heavier. Both are DIY checks. The spring and cable failures cause the most “the door won’t open” calls, and those are always for a trained technician.
Forcing a misdiagnosed repair is how homeowners end up replacing the wrong part. Reading the table before you act keeps you from throwing an opener at a track problem or a sensor at a spring problem. If the map points to a mechanical fix, our garage door repair service diagnoses the whole system before quoting, so you’re paying for the actual failure, not the symptom.
How Chesapeake Humidity and Seasonal Swings Break Down Doors
Chesapeake sits in a climate with wide humidity swings between seasons, and that movement does real work on a garage door’s mechanics. Wood doors swell in the muggy months and shrink back when the air dries, which pushes and pulls on hinges, rollers, and panel joints. Metal doors and steel tracks expand and contract with the temperature, so a door that runs perfectly in mild weather can drag or bind when it’s cold. Neither of those is a manufacturing defect. It’s normal material movement that a setup tuned for one season may not tolerate year round.
What that means for you at home:
- Track drift. Repeated expansion can pull a track slightly out of plumb against its wall brackets. You’ll notice the door riding hard on one side or a gap under one bottom corner.
- Hinge and roller wear. Constant seasonal push-pull wears the hinge pins and roller bearings faster than in a stable-dry climate, which shows up as squeaking and shuddering long before anything breaks.
- Seized rollers. A roller that collects grit and stiffens will drag on the track and trip the opener’s force limit, mimicking an opener failure.
- Loose fasteners. Humidity cycling loosens bracket bolts over the years. A small rattle becomes a persistent bang once the bolts back off.
This is why a door that was quiet last year starts complaining this year and the opener gets blamed. If you live in a Chesapeake neighborhood with older wood-frame construction, keeping an eye on that seasonal drift and having the hardware re-tuned when it starts binding is cheaper than replacing an opener that got worn down fighting a misaligned door. When those tired hardware parts finally need service, our garage door opener repair team can also re-level the door and the door logic in one visit, so you’re not chasing the same symptom down two different paths. Our technicians have up to 8 years of experience working in this climate, and the seasonal drift pattern is one they see often.
Safety Sensors: The Two-Faced Failure
The safety sensors sit at the bottom of each track and shoot an invisible beam across the door’s path. If anything blocks that beam, the opener will refuse to close the door. That’s the intended protection, and in most homes it works so well that people never think about the sensors until the door starts acting strange.
Here’s where the sensor earns its “two-faced” reputation. A door that reverses before it touches the floor is usually a blocked beam, but so is a door that won’t close at all from the wall control. Those two look like very different problems, and a dead sensor can produce either one depending on whether the opener’s logic sees a momentary blip or a solid obstruction. In our experience, this single component accounts for more “my door is broken” calls in Chesapeake than any other part.
How to test the sensors safely:
- Check that each sensor has a steady light. A blinking light means it sees an obstruction or has lost the beam.
- Wipe both sensor lenses with a soft cloth. Dust, cobwebs, and insect debris are common in garages.
- Look for the beam path. Nothing should hang or sit between the sensors, including a pulled-out trolley rope or a broom leaning into the door.
- Confirm alignment visually. The sensors should face each other squarely. A nudge from a bike or a bump from a toolbox can shift one a couple of degrees and break the beam.
- Test the door with the opener engaged and watch whether the reversal happens at the same point every time or randomly. Same point means an obstruction. Random means a loose sensor connection or a wiring fault.
If both lights are steady, the beam is clear, and the door still reverses, check the opener’s force and travel settings against the manual. A sensor that’s wired correctly but getting a weak signal from a loose wire acts the same as a blocked beam, and that’s a fix that requires following the wire back to the head unit. Sensors are safe to touch, but the wiring inside the opener head is not something to poke at with the power on.
Noise, Slowness, and Gaps: The Quiet Warning Signs
Not every door problem announces itself. Some develop slowly over months, and the door keeps working right up until it doesn’t. Catching these three signs early is how you avoid a failed spring or a stripped opener gear later.
Noise. A well-tuned door is close to silent. Grinding means metal on metal, usually a seized roller or a track rubbing the door edge. Squeaking is dry hinge pins and rollers. Banging at the moment of opening or closing is a loose bracket or a failing spring. Any new sound is information. Note where in the cycle it happens and whether it got suddenly loud or slowly louder.
Slowness. If the door moves noticeably slower or jerks in the middle of travel, the opener is telling you the load got heavier. The opener is usually the victim here, not the culprit. The door is binding, and the force limit is compensating. Address the binding before the opener burns out its gear from all the extra work.
Gaps. A gap under one bottom corner or a door that doesn’t close level is a hardware sign: cable slip, track drift, or an unbalanced spring. In this climate, gaps also let in cold air and pests, which is a hint to service the door before the next season change. If the gap is paired with a door that sits higher on one side by more than a fraction of an inch, stop using the opener and call for a technician.
Slowness and gaps are also the two signs that most often mean you’re one trip away from a full failure. In our experience, homeowners who notice a slightly slower door and have it checked end up with a small hardware adjustment rather than a full spring replacement. If the balance is off or the cables have slipped, our trained repair team can diagnose those without a full system replacement.
Where to Stop and Call a Pro
There are two systems on a garage door you should never adjust by hand: the springs and the cables. That’s not a cautious warning to cover a sales pitch. It’s a mechanical fact. A torsion spring stores enough energy to lift the entire door, and even a partly relaxed spring can release that energy instantly if a winding bar slips or a cable snaps back. Garage door spring repair is one of the most safety-critical home repairs there is, and it’s not a task for a homeowner with a wrench and a video.
Stop and call a professional if:
- You find a broken spring, either a visible gap in the coil or a spring hanging loose at the top.
- A cable is frayed, kinked, slack, or hanging off its drum.
- The door has unbalanced tension, seen as fast slamming or heavy lifting that the manual test confirmed.
- Any bolt on the torsion bar or cable drums has backed off.
- You’ve tried the safe checks and the door still won’t close, reverse, or move.
Electrical work at the opener head is the other stop line. The wiring, capacitor, and motor connections can shock you, and they’re not worth touching with the power live. A qualified technician has the tools and the training for both.
Common Mistakes to Avoid
- Leaving the opener engaged. Every diagnostic check in this guide starts with the red release handle. Don’t skip it. Running a diagnosis with the opener live is how people get pinned between the door and the rail.
- Replacing the opener before testing the door. A binding door makes a perfectly good opener look dead. Run the manual lift test first. Most dead openers in Chesapeake are actually fighting a door that needs hardware work.
- Adjusting springs by hand. Every year we see injuries that happen because someone tried to close a spring gap with a wrench. A torsion spring carries enough force to do real damage. Leave that work to a trained technician.
- Assuming the sensor issue is a sensor replacement. Nine times out of ten it’s a wiped lens, an obstruction, or a two-degree misalignment, not a failed sensor. Clean and align before you buy a new one.
- Ignoring a small track dent. A tiny bend in the track grows into a binding door and a burned-out opener over a season. Fix the track while it’s a cheap fix.
- Greasing the tracks. Track grease collects grit and makes the rollers slide instead of roll. Keep the track clean and dry and put lubricant on the rollers and hinges, not the rails.
- Letting seasonal wobble go. In this climate, repeated humidity and temperature swings loosen the track brackets over the years. A loose bracket is a quick tighten and a slow-ignored rattle is a full door problem.
See the difference
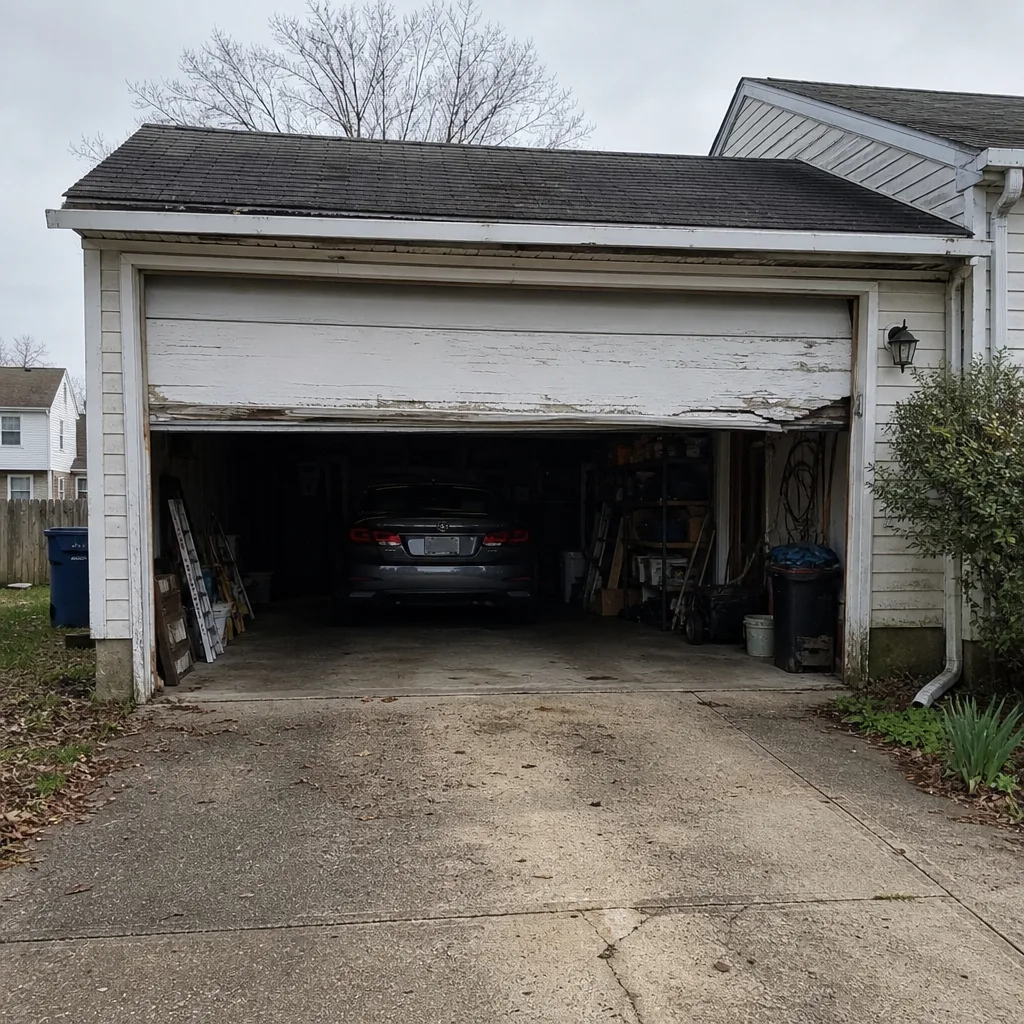 Before
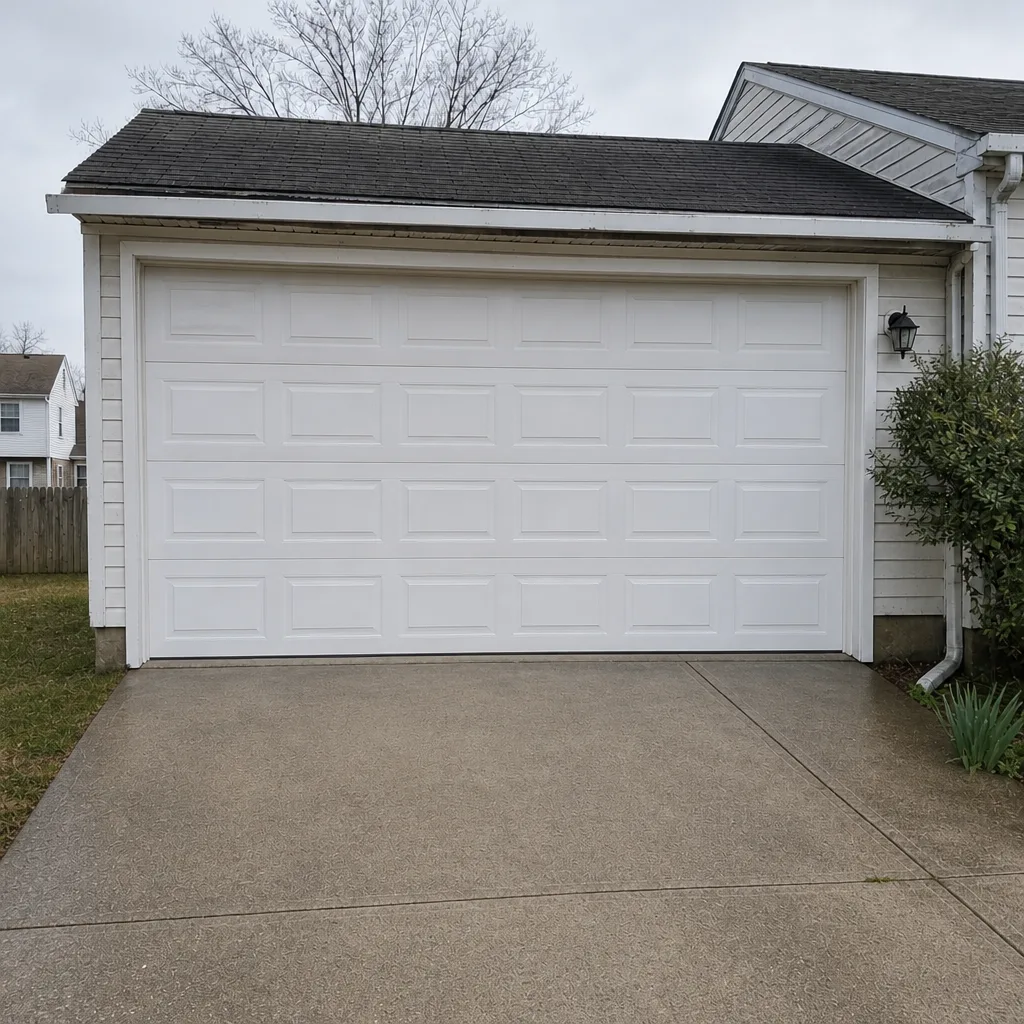 After
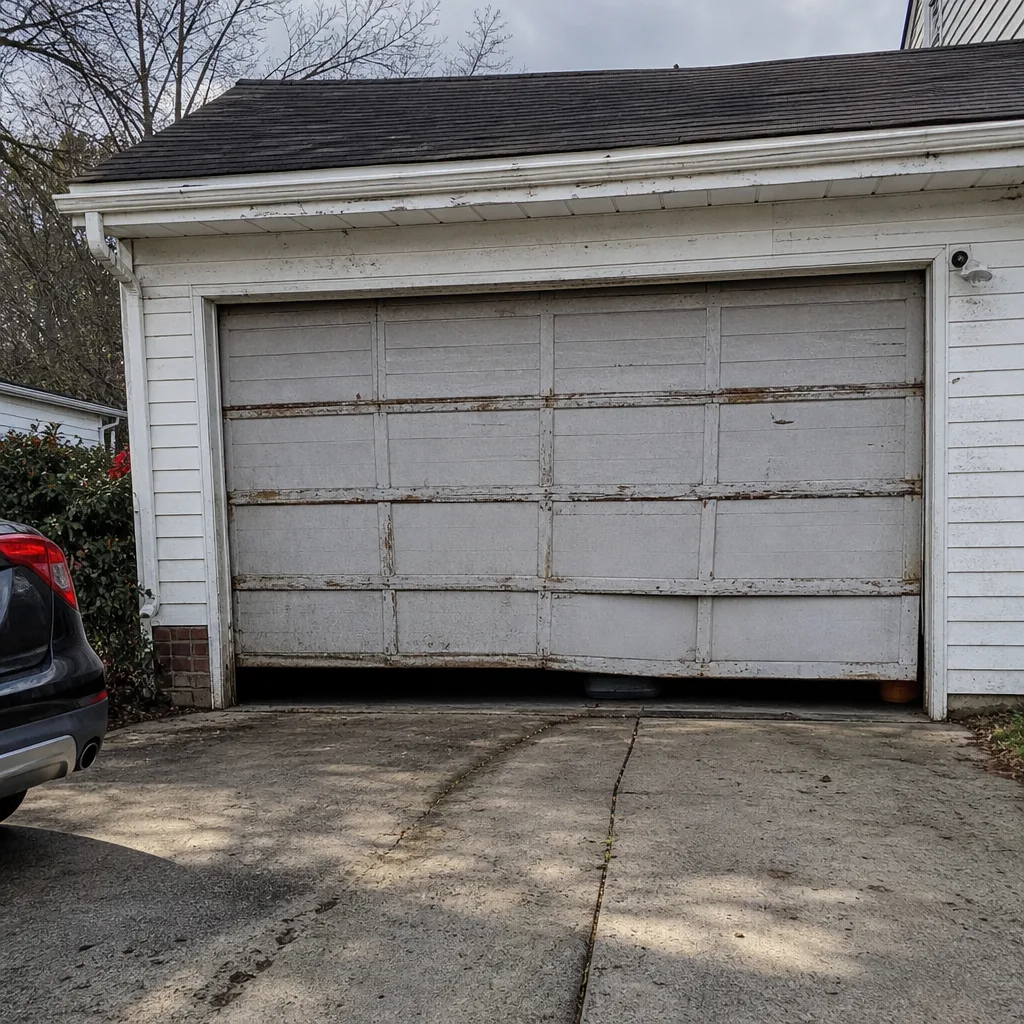 Before
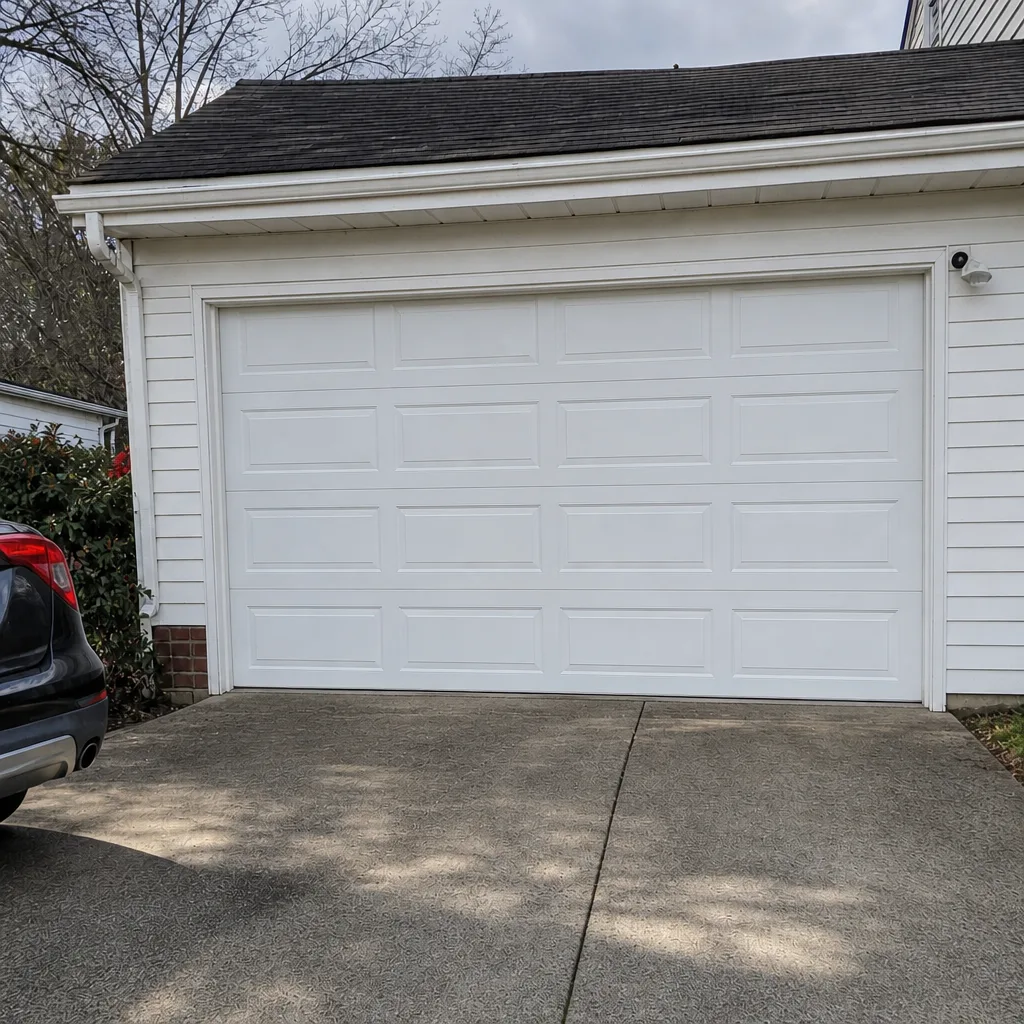 After
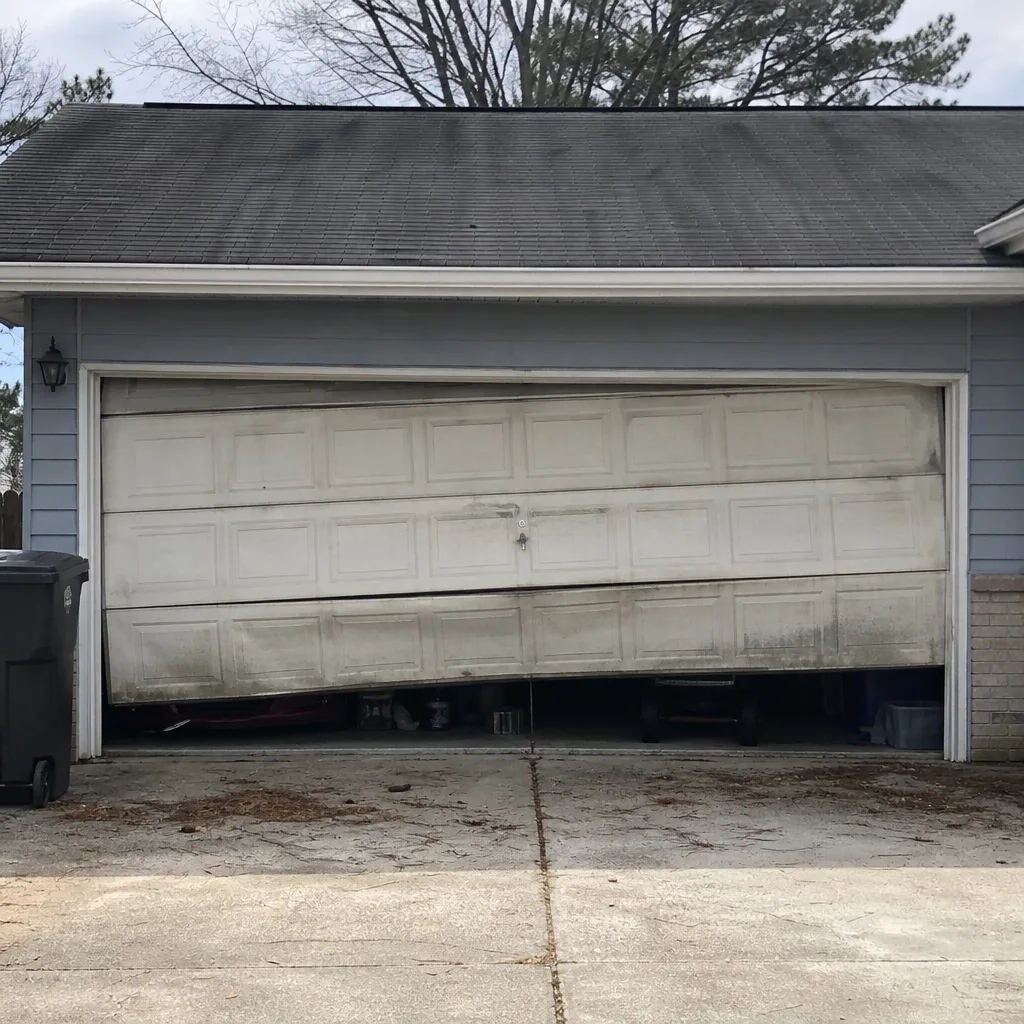 Before
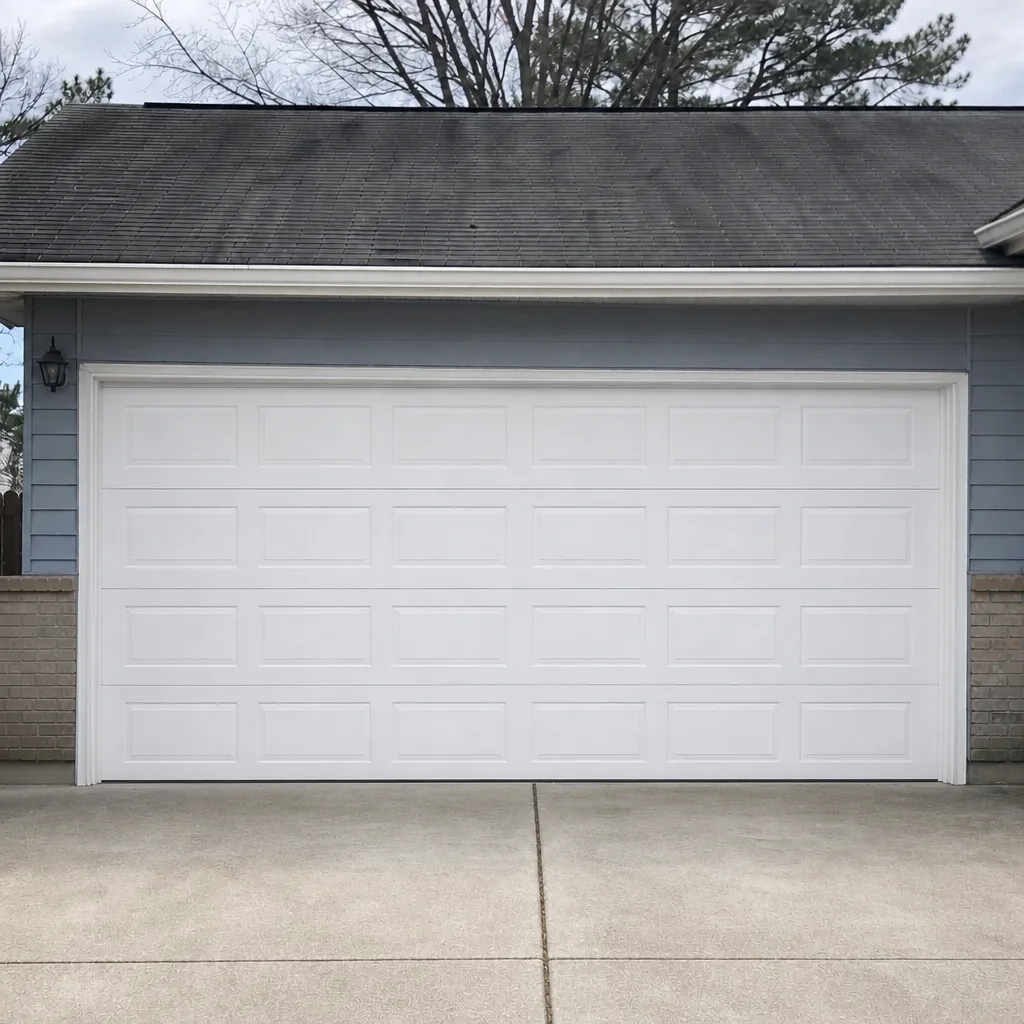 After
When to Call a Professional
Call a professional when the problem is in the springs or cables, when the manual lift test shows the door is unbalanced, when the opener’s internals are involved, or when you’ve finished the safe checks and still can’t find the failure. These are the jobs where a misstep can cost you a door, a hand, or both. Our technicians work on all major brands, so whatever opener or door you own, it’s covered under one call. We offer a free estimate and quote a written price before any work starts. If your door is stuck open or won’t close at an off hour, from 7am to 7pm we dispatch fast, and emergency garage door service is a core part of what we do.
Garage Door Repair Chesapeake Pros offers free estimates in Chesapeake and works on the system that’s actually on your home. Call (877) 745-2212 and we can walk you through the checks or send a technician to sort out the real failure.
Frequently Asked Questions
Garage door repair in Chesapeake typically costs $150 to $450 for common issues, with spring repair or cable work usually running $180 to $340 for a single spring. A matched pair costs about twice that, and the written estimate sets the final price. Call (877) 745-2212 for an exact quote. Estimates are free.
Yes, for most repairs. Same-day service is standard for doors that are stuck, binding, or reversing unexpectedly, and from 7am to 7pm we dispatch quickly. Call (877) 745-2212 and we can confirm what your door needs and get you back up and running the same day.
Run the manual lift test. Disengage the opener and lift the door by hand. If it stays put halfway up, the door is balanced and the problem is in the opener or sensors. If it’s heavy or slams down, the problem is hardware, and you need spring or cable service. Our technicians have up to 8 years of experience making that call, and call (877) 745-2212 if you want the diagnosis confirmed.
Your safety sensors are seeing an obstruction, or the opener’s force limit is tripping. Check that both sensors have a steady light and wipe the lenses. If that doesn’t fix it, look for a bent track or a door that’s gotten heavier. Call (877) 745-2212 if the door still reverses and we can find the actual failure.
No. We quote a price and agree it with you before any work starts, and the written estimate sets the final price. If the diagnosis changes once we see the door, we talk it through before touching anything. That’s true for repairs and for a full garage door installation. Call (877) 745-2212 for a free estimate.
Very likely. We work on LiftMaster, Chamberlain, Genie, Craftsman, Raynor, Clopay, Amarr, and Wayne Dalton, among others. We diagnose and repair the system that’s on your home rather than steering you toward a preferred brand. Call (877) 745-2212 with your brand and model ready.
The Bottom Line
Most garage door problems in Chesapeake aren’t what they first appear to be. The door slamming shut is a spring issue, not an opener issue. The door reversing at the floor is a sensor beam, not a mechanical failure. The trembling door is a track problem, not a motor on its way out. Read the symptom, run the five safe checks, do the manual lift test, and use the symptom-to-cause map to find the subsystem actually at fault. Then handle the safe fixes yourself and hand the springs, cables, and opener internals to a technician. That approach gets your door back to quiet and balanced in one call, not three.
If you’d rather someone else run the diagnosis, or you’ve found a broken spring and need it handled the right way, Garage Door Repair Chesapeake Pros can help. Call (877) 745-2212 for a free estimate, and we’ll work on whatever system is on your home.
Written by the team at Garage Door Repair Chesapeake Pros.